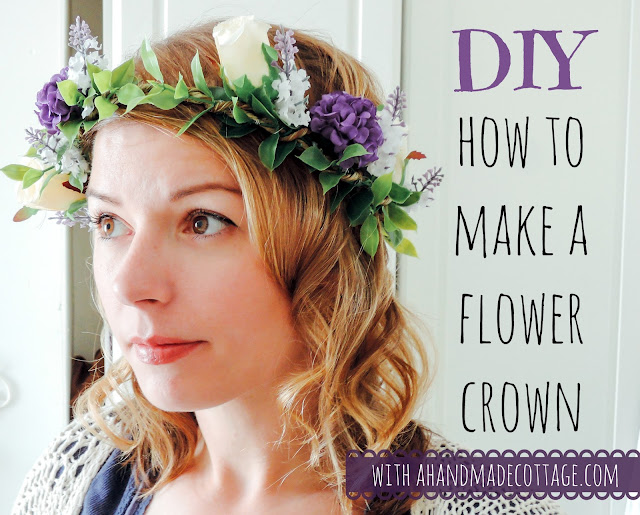
A few weeks back I was invited to take part in a blogger challenge by the Luxury Silk Bedding company Gingerlily. I love a crafty challenge so I was more than happy to join in the fun. We were sent a box of silk flowers and some other bits and bobs, and with the Chelsea Flower Show as our inspiration we were told we could create anything we wanted using the silk flowers as our main element of inspiration.
For a day or two I kept wandering past the flowers on my craft table, while I waited for them to shout out to me and tell me what it is they wanted to become - I toyed with a fairy garden, then a summer dining display ... but these flowers were so pretty I wanted to wear them ... so I asked myself in what scenario could such flowers be worn? of course ... weddings and festivals!! So here is my floral crown - inspired by the fresh flower crown I made for my own wedding day. This would be perfect for a flower girl, a bride, and I'll certainly be dancing around wearing it at festivals this summer :-)
You will need:
A selection of silk flowers and leaves
Thin and flexible florist wire
Ribbon
Glue gun
Pliers
Step 1
Cut 3 lengths of rustic grapevine wire - make each length the circumference of your head plus 10 inches or so more (you can always shorten it in a mo). Then prep your flower stems, by trimming them and leaving 3 or so inches on each one (see pictures below).
Step 2
Take two of the three lengths of grapevine wire and twist them together like so. When you've done that wrap it around your head to get the right size and bend the ends back on themselves where they meet. Cut off an access wire, making sure you leave an inch or so on either end (this where we'll attach our ribbon).
Step 3
Starting at one end, take one flower or leaf stem and bind it to the rustic wire with your flexible floral wire. I like to use really thin wire for this, is much easier to handle - you can even tie it in a knot. I like to bind one end, and then the other to make sure it's secure.
Step 4
Then simply continue working your way around, alternating between flowers and leaves. The leaves and foliage will hide most of the wire, and the rest we'll deal with in a mo.
TIP: Just make sure the ends of the wire are fastened securely and aren't pointing inwards as you doing want it digging into your head!
TIP; When it comes to design you can either have the flowers going all the way around in one direction, or you can do as I've done - all going one direction one side - then anti-clockwise on the other side leaving a slight gap of just foliage in the centre (just about your forehead) as I find this the most flattering.
Step 5
Once you've fixed all your flowers in place you can either leave it as it is, or you can wind around the last piece of grapevine wire, to hide any bit of visible wire as I have done.
Step 6
Choose some ribbon that compliments the flowers ... I chose this ribbon to bring our the lilacs and purples.
Step 7
Straighten out the bent ends now, and using your glue gun, glue one end of your length of ribbon to the end like so (make sure the ribbon is long enough to make a bow and hang nicely.)
Step 8
Then take another piece of short ribbon, glue one end and wind it round the join to tidy and keep the other piece of ribbon securely in place.
TADA! Now you shall go to the ball / wedding / festival.
JM x


Cuteness! A little woodland fairy! Love it. My hubby had a "Knight's Tale" theme party for his 60th birthday. I made these in all different colors for the girls and ladies to wear. Everyone loved them. Very festive!
ReplyDelete